
Lakewood Wood Flooring installs engineered hardwood flooring in Lakewood, CA and has been working with wood floors for more than 20 years, serving surrounding cities including Artesia, Bellflower, Hawaiian Gardens, Cerritos and Signal Hill. We help you choose the right engineered product for your foundation and your household, then install it by the method the subfloor and the manufacturer call for.
Engineered hardwood is real wood on top of a layered core. The core resists the expansion and contraction that makes solid boards cup or gap, which is why engineered flooring is often the better answer over a concrete slab, in a kitchen, or in a room where moisture has been a problem before.
The choice is not only about looks. Wear layer thickness decides how many times the floor can be refinished, the core decides how stable it will be, and the installation method decides how it sounds and feels underfoot. We walk through each of those with you before you commit to a product, and our estimate lists material, preparation and installation as separate lines.
How Engineered Hardwood Is Built
Wear Layer Thickness and Future Refinishing
The wear layer is the real hardwood on top of each board, and it is the part you see, walk on and eventually sand. A thicker wear layer can be fully sanded and refinished at least once, sometimes more, while a thin one may only accept a screen and recoat for the life of the floor.
That makes wear layer thickness one of the most important numbers on a product sheet. We show you the figure for each option and explain what it means for refinishing down the road, so a lower price today is not traded for a floor that has to be replaced instead of refinished later.
Engineered Core Construction
Beneath the wear layer, the core is made from cross-layered plywood, a multi-ply hardwood core or other engineered materials. Layers running in different directions resist the seasonal movement that makes solid boards swell and shrink, which is what gives engineered flooring its stability.
Core quality varies widely between products. We look at how the core is built, how the planks are milled at the edges and how flat they sit out of the box, because a weak core or poorly milled edges show up as gaps, squeaks or lifted edges after installation.
Species, Hardness and Surface Texture
Engineered flooring comes in the same species as solid hardwood, including white oak, red oak, hickory and maple. The Janka hardness rating of the wear layer species tells you how well it resists dents, with hickory near the harder end and the oaks in the middle.
Surface texture matters too. Wire-brushed and hand-scraped surfaces hide scratches from pets and daily traffic better than a smooth, glossy finish, while smooth boards suit a cleaner, more formal look. We bring samples so you can see and feel the options in your own light.
Engineered Hardwood Over Slabs and Raised Foundations
Moisture Testing Before Material Is Ordered
Wood flooring over a slab-on-grade can fail when moisture moves up through the concrete. Before we order any material, we test the slab with a calcium chloride moisture test or an ASTM F2170 in-situ relative humidity test, and we record the readings in writing.
Over a raised foundation, we check the moisture content of the board subfloor or plywood underlayment with a wood moisture meter and look into the crawl space for signs of past leaks or poor ventilation. Those readings decide the product, the underlayment and the installation method.
Vapor Retarders and Moisture-Control Adhesives
When slab readings call for protection, we specify a vapor retarder under a floating floor or a moisture-control adhesive under a glue-down floor. The product’s own installation instructions and the NWFA installation guidelines set the limits we work within.
We do not skip that step to save time. Installing over a slab that has not been tested is the most common reason an engineered floor cups or lets go of its adhesive within a season or two.
Replacing Carpet or Old Tile in Older Homes
Many Lakewood houses built in the 1950s still have original hardwood under carpet, and we check for it before recommending new engineered flooring. Where a room needs new flooring instead, we remove the old surface, check the subfloor for level and damage, and correct problems before installing.
Old linoleum, rubber floor tile and 9x9 tile, along with the black mastic beneath them, can contain asbestos. We treat those layers as a question for an asbestos survey before any removal, and we follow SCAQMD Rule 1403 requirements when asbestos is found.
Installation Methods for Engineered Flooring
Glue-Down Installation
A glue-down install bonds each plank directly to the slab or subfloor with a flooring adhesive. It feels solid underfoot, sounds like a solid wood floor and suits concrete slabs, and the right adhesive can also serve as a moisture-control layer where the test results allow it.
Floating Installation
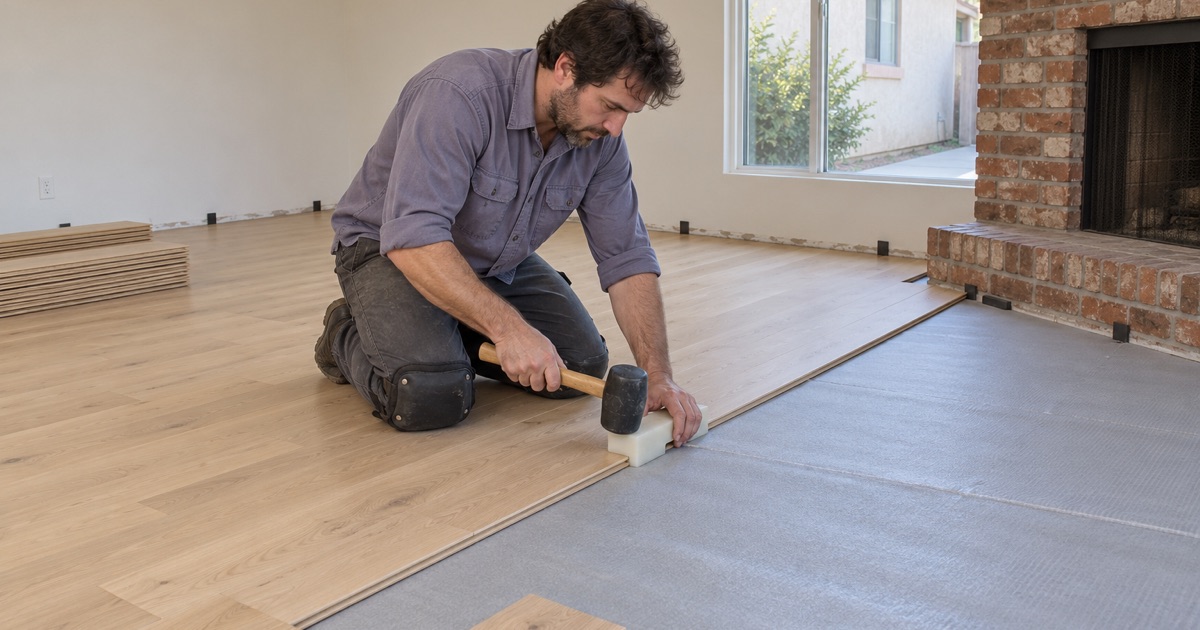
A floating install locks the planks to each other over an underlayment without fastening them to the subfloor. It is quicker, can go over many existing hard surfaces and suits some condo situations, though it can sound hollower underfoot. We leave the expansion gap the manufacturer specifies at every wall and fixed object.
Nail-Down and Staple-Down Installation
Over a raised foundation with a wood subfloor, engineered planks can be fastened with cleat nails or flooring staples, the same way solid hardwood is installed. We confirm the product’s approved fastener schedule and check the subfloor for loose boards and squeaks before fastening anything down.
Where Engineered Hardwood Earns Its Place
Kitchens, Laundry Areas and Rooms Near Water
A kitchen sees humidity from cooking, splashes at the sink and the occasional dishwasher supply line leak. Engineered flooring tolerates the humidity swings better than solid boards, which makes it a reasonable choice for kitchens and the halls beside laundry areas where solid hardwood would be more likely to cup.
It is still wood, so we plan for the day something leaks. We recommend leaving the dishwasher and refrigerator lines accessible, choosing a finish that can be spot-maintained, and keeping a few spare boxes from the same production run so a damaged area can be replaced later with boards that actually match.
Condos, Townhomes and HOA Sound Rules
Many condominium associations regulate hard flooring because footfall noise travels to the unit below, and Civil Code 4760 addresses owner alterations in common interest developments. Engineered flooring is often the product associations approve, provided it goes over a qualifying sound underlayment.
Before installing in a condo or townhome, we read your association’s flooring rules, confirm the underlayment rating they require and help you assemble the product sheets for their approval. That keeps a new floor from becoming a dispute with the board after it is already down.
Additions and Opened-Up Walls
When a wall comes out or a room is added, engineered boards can sometimes be matched to an existing engineered floor, but often the product has been discontinued. In that case we either source the closest match and weave it in, or recommend running new flooring through the connected rooms so the change reads as deliberate rather than as a patch.
Our Step-by-Step Engineered Hardwood Flooring Process
Step 1: Test the Substrate
We measure moisture in the slab or subfloor, check flatness and inspect the crawl space or slab edges. You receive the readings and a line-by-line written estimate.
Step 2: Select the Product
We narrow the choices by wear layer, core, species and finish, and confirm the product is labeled compliant with California formaldehyde limits under 17 CCR 93120.2. Material is ordered only after that choice is final, so it arrives in time to acclimate.
Step 3: Prepare and Install
We remove old flooring, correct the subfloor, install underlayment or adhesive, and lay the floor by the chosen method with the correct expansion gaps. Boards are pulled from several boxes at once so color and grain blend across the room.
Step 4: Trim, Transitions and Care
We install shoe molding, reducer strips and T-molding at doorways, then walk you through care and cleaning so the finish lasts. We also leave you the product details and any spare boards, which makes a future repair far easier to match.
- 20+ Years in Wood Flooring
- Line-by-Line Written Estimates
- Lead-Safe Sanding on Pre-1978 Homes